XLSForm Converter
The original version of this document is located at https://docs.qfield.org/how-to/advanced-how-tos/xlsforms-plugin
XLSForm Converter Plugin for QGIS
Use the XLSForm Converter plugin to convert existing XLSForms into QGIS projects.
This tool migrates all configurations from your form into a configured project alongside a geopackage containing your survey layers. The plugin allows you to upload the result directly to QFieldCloud provided you have installed QFieldSync. Once converted, the resulting project is ready to be loaded into QField for use in the field.
XLSForms
XLSForms is a standard used by several survey products such as ODK or KoboToolbox.
XLSForms is built on a spreadsheet format using Excel as the standard.
In simple terms a survey is made up of several “Questions” that can be presented in different formats (integer, text, lists etc.).
To learn more about the standard please visit the XLSForm reference website.
How to install the plugin
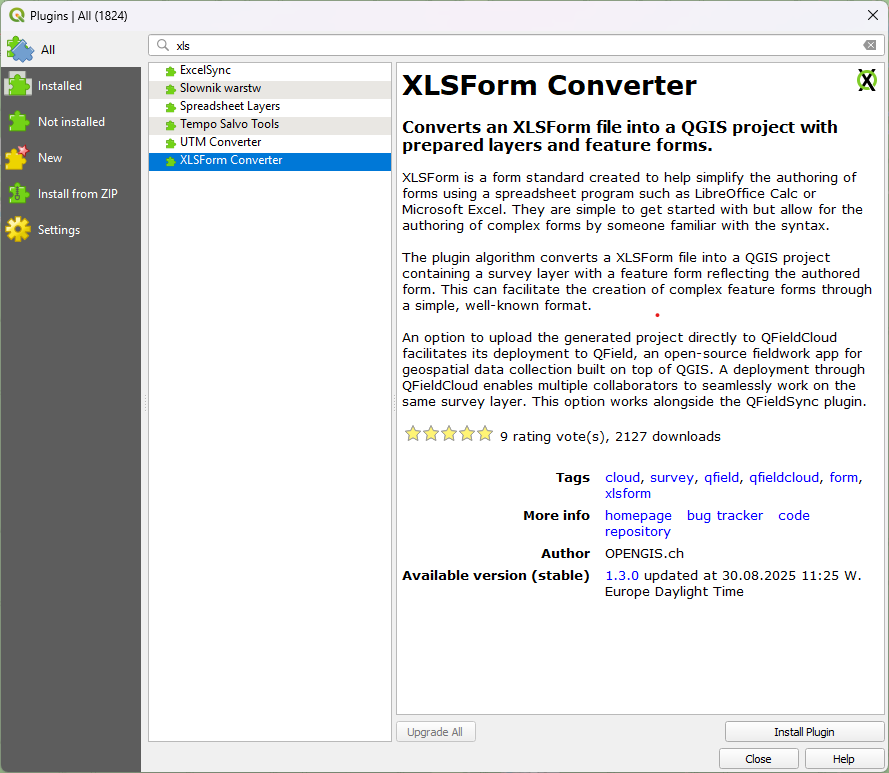
You can install the XLSForm Converter in QGIS through its plugin manager.
Workflow
- Direct to Plugins > Manage and Install Plugins > All
-
Search for XLSForm Converter and click “Install Plugin”.
Once it is installed it will appear in your processing toolbox

Convert XLSForm to QGIS Project
To convert a survey form you need to make sure you follow the XLSForm standards and format.
Here is a template, you can adapt in case you are more familiar with XLSForms than QGIS.
Workflow
- In QGIS Open the “Convert XLSForm to QGIS project” process from your Processing Toolbox.
- Locate the XLSForm spreadsheet file (.xls or .ods).
- (Optional) In case you want to assign a specific name or a specific language to your project, fill in the dedicated fields.

- Select your preferred basemap:
- OpenStreetMap
- Humanitarian OpenStreetMap Team (HOT)
- (Optional) You can directly turn your project into a QFieldCloud project if you check the according checkbox.
- (Optional) Under Advanced Parameters you can further customize the settings of your project:
- Set your desired project extent
- Define a preferred coordinate reference system.
Note: By default the WGS 84: Pseudo Transmercator (EPSG:3857) will be used. - “Pre-fill project with features’ geometries and matching attributes” allows you to take an existing feature with the exact table names and add it to the project by default.
- Choose the location of where your project is stored.
- Click “Run” and wait.
In case successful, the new project will be saved in your selected project folder.
More Information
If you want to know about what is all possible with the XLSForm Converter Plugin and what it can be used for, have a look at the resources below:
Related Articles
My first project using QGIS and QField with QFieldCloud
The original version of this document is located at https://docs.qfield.org/get-started/tutorials/my-first-project My first project This page will go through a step by step example of how to prepare a simple QField project containing a points layer, ...Project creation in QFieldCloud
The original version of this document is located at https://docs.qfield.org/get-started/tutorials/create-project-qfc Creating Projects in QFieldCloud There are multiple options available to initialize and build a project in QFieldCloud: Using QGIS ...