Measuring tool
The original version of this document is located at https://docs.qfield.org/how-to/qfield-interface/measuring-tool
Measuring tool
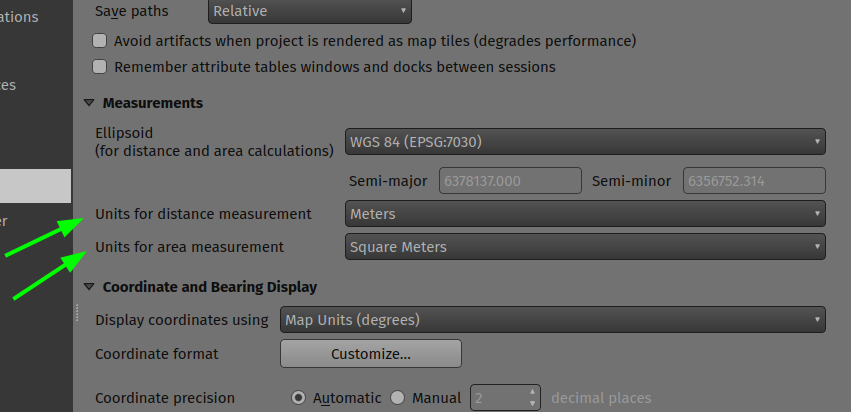
QField offers measurement functionalities out of the box, you have the flexibility to change the units for measuring distance and area in your projects.
You can do this in QGIS by navigating to the Project > Properties > General section.
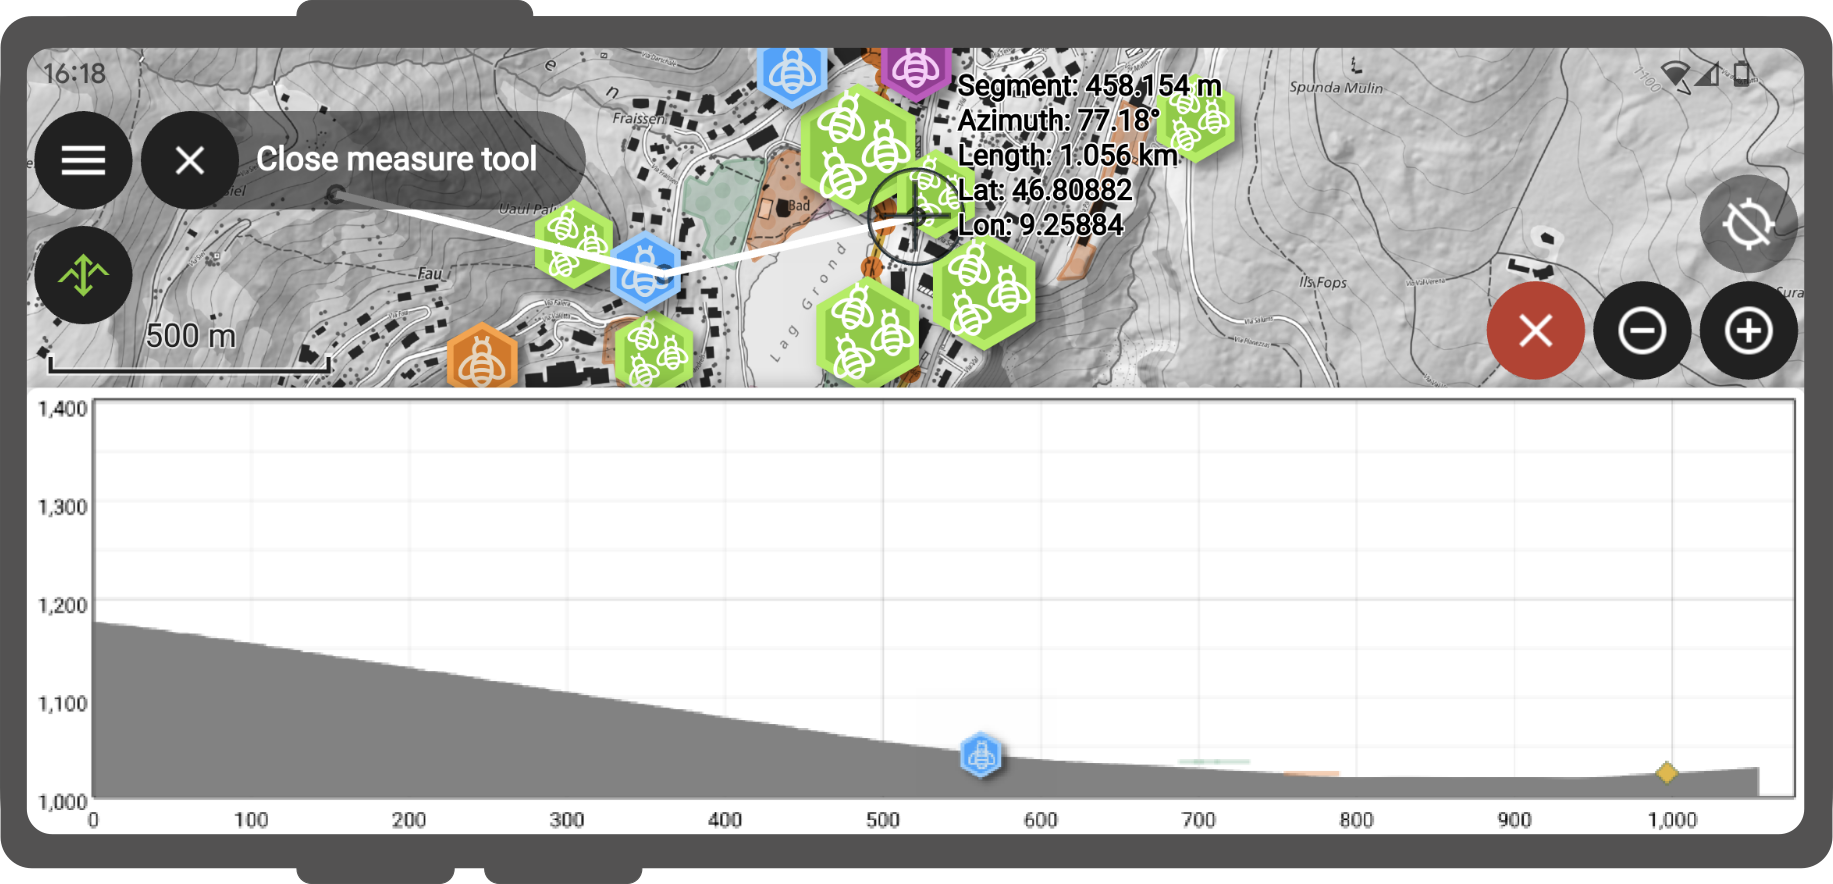
To enable the measuring tool, open the side “Dashboard” and select the ruler symbol in the main menu bar.

Once the tool is enabled, use the digitizing controls located at the bottom-right corner of the screen to add and remove vertices.
By default, the measured geometry will be a line; to change to a polygon, simply connect the coordinate cursor to the first vertex entered.
For the segment formed of the two last vertices added, details returned include segment length and its azimuth.
When the measured geometry is a line, the total line length is provided while the perimeter and area are displayed for polygons.
Elevation profiling
When the measuring tool is enabled, an Elevation Profile tool button appears at the top-left corner of the screen.
Toggling this on will open the elevation profiling panel, which will show the terrain elevation as well as intersecting vector features along the measured geometry.
For ease of use, QField defaults to using the Mapzen Global Terrain dataset to provide worldwide 30-meter resolution elevation profiles.
It is, however, possible to customize terrain settings through project and individual map layer properties within QGIS when building projects.
Related Articles
QField general settings
The original version of this document is located at https://docs.qfield.org/how-to/general/settings QField General settings The general settings screen allows you to control the basic appearance and behaviour of QField. There are two ways in which ...Digitize and edit
The original version of this document is located at https://docs.qfield.org/how-to/data-collection/digitize Digitize and Edit With QField you can digitize, edit and delete points, lines and polygons and their according attributes while being in the ...COGO Framework - Coordinate geometry
The original version of this document is located at https://docs.qfield.org/how-to/advanced-how-tos/cogo-framework COGO Framework - Coordinate Geometry What is COGO? COGO is a framework that allows you to define a precise location of any spatial ...XLSForm Converter
The original version of this document is located at https://docs.qfield.org/how-to/advanced-how-tos/xlsforms-plugin XLSForm Converter Plugin for QGIS Use the XLSForm Converter plugin to convert existing XLSForms into QGIS projects. This tool migrates ...Shared datasets
The original version of this document is located at https://docs.qfield.org/how-to/advanced-how-tos/shared-datasets Shared datasets It is possible to use layers stored in a single location — referred to as “shared datasets folder” — across multiple ...