Create new project in QField
The original version of this document is located at https://docs.qfield.org/how-to/project-setup/create-project
Create a New Project in QField
📱 Fieldwork
Create a simple project directly in QField on your mobile device to collect notes with or without attachments and track your location.
Choose between several basemaps and convert your local map into a cloud project if needed.
Creating a Local Project
Workflow
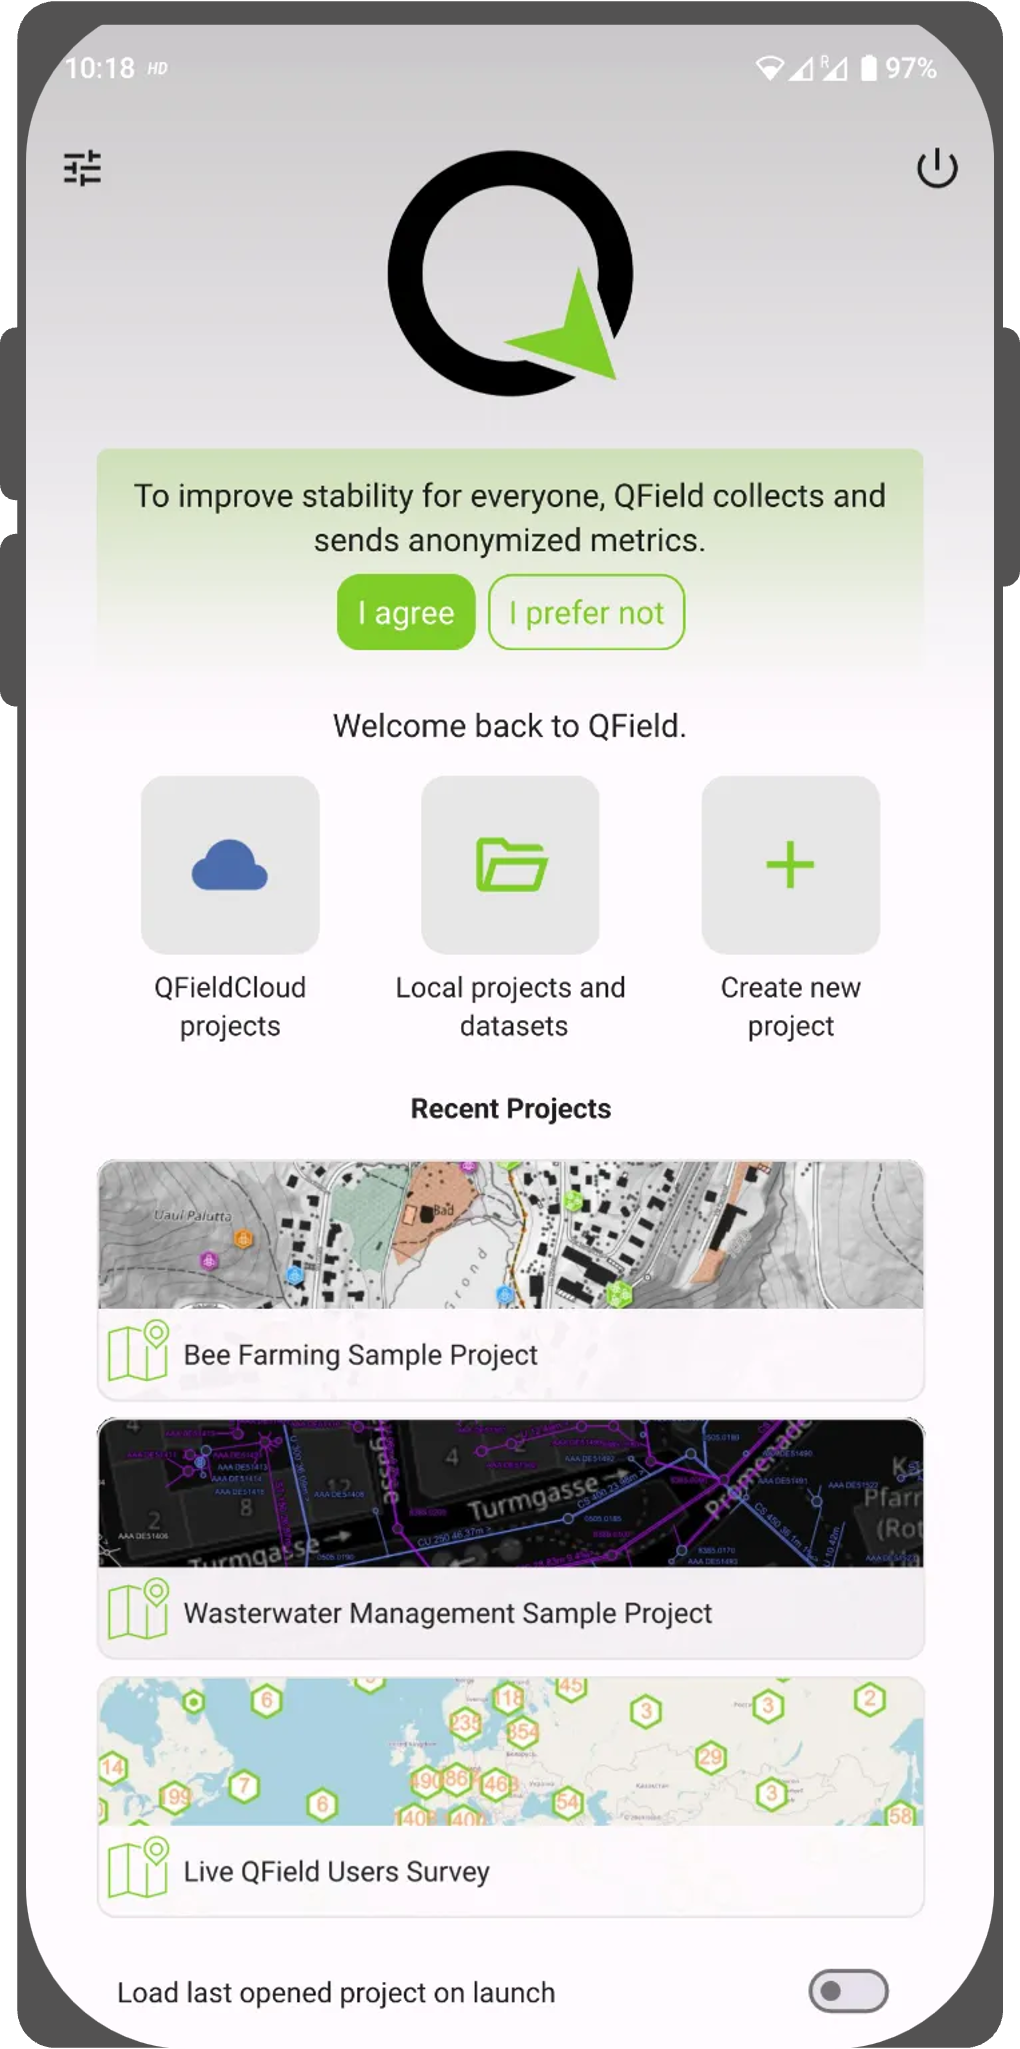
- Open QField on your mobile device.
- Tap the plus button (+) on the Welcome Screen.
- Select your preferred basemap:
- OpenStreetMap
- Dark Gray
- Light Gray
- Blank
- Custom URL (enter a custom tile server URL)

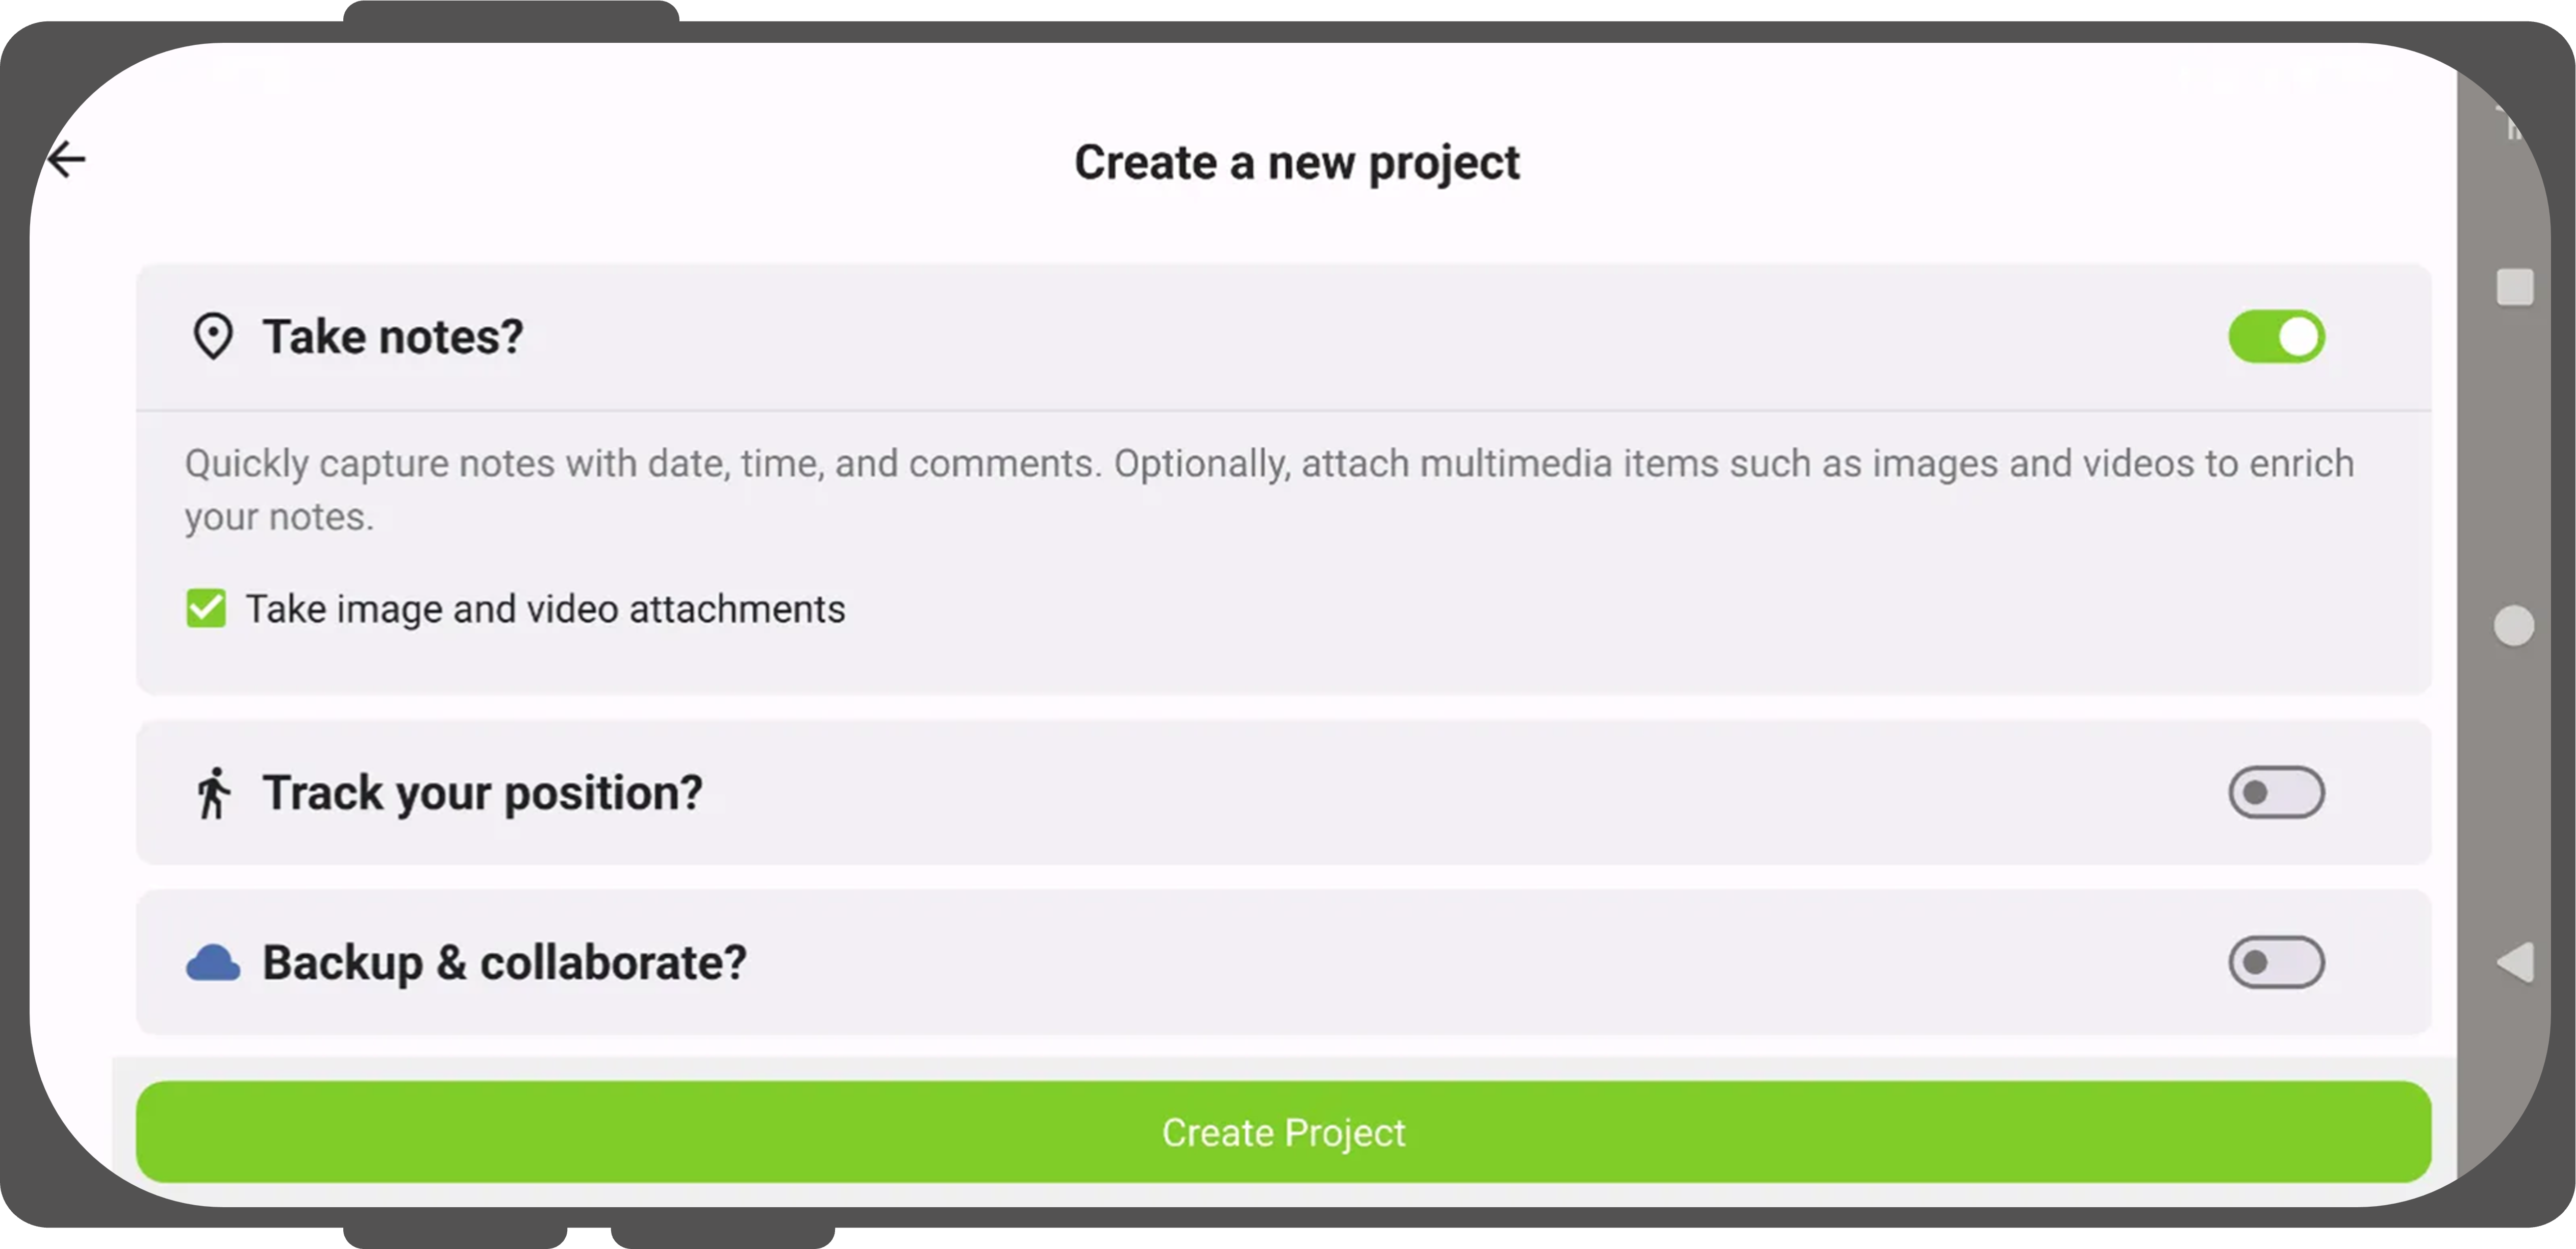
- Enable Add photo attachment to capture attachments for your notes layer.
- Enable tracking to record location tracks (and optionally enable Start tracking on project launch).
- Enable Upload to QFieldCloud to convert the map into a cloud project upon creation.
- Log in with your QFieldCloud credentials if prompted to synchronize the project immediately to the cloud.
Convert an Existing Local Project to QFieldCloud (“Cloudify”)
📱 Fieldwork
If you copy a project from your desktop or receive project access through a QR code, QField opens it as a local project.
You can convert local projects into QFieldCloud projects at any time.
Workflow
- Open your local project in QField.
- Open the Side Dashboard and tap the cloud icon.
- Log in with your QFieldCloud account credentials if you are not signed in.
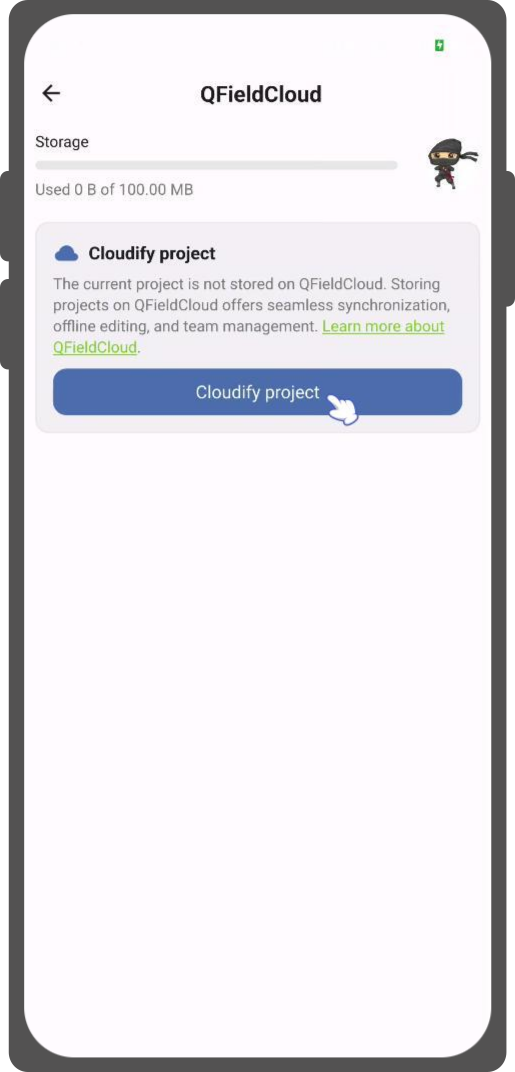
- Tap Cloudify project.
- QField automatically packages your local layers, creates the project on QFieldCloud under your account or organization, and uploads all initial project files and datasets.